my life, spirituality, travels and more
Pimp my cabin (with before and after pics)
If you follow me on instagram, you’ve probably seen some of my stories with the hashtag #pimpmycabin during the past few months, if not, let me open it up a little bit. My parents have a beautiful summer house on a nice piece of land just an hour outside of Helsinki, by the sea. On that piece of land, there’s the main house they spend the summers in, but then there’s also a smaller sauna cabin that’s been mainly used as the dressing room for the sauna. Well, not anymore.
My mood when the reno is over.
During this past easter, me and my boyfriend paid my folks a visit and started playing with the idea of turning the sauna cabin into a more cozy summer cabin for the two of us. Things escalated quickly and only moments later were we throwing out old furniture that we decided to burn as a big ole traditional easter bonfire. The bonfire sure was impressive and big, but what sucked, was that we later learned that we ended up burning a Danish wooden table worth 700€. FAIL. Anyways, as fire is the symbol for transformation, the project was now officially initiated.
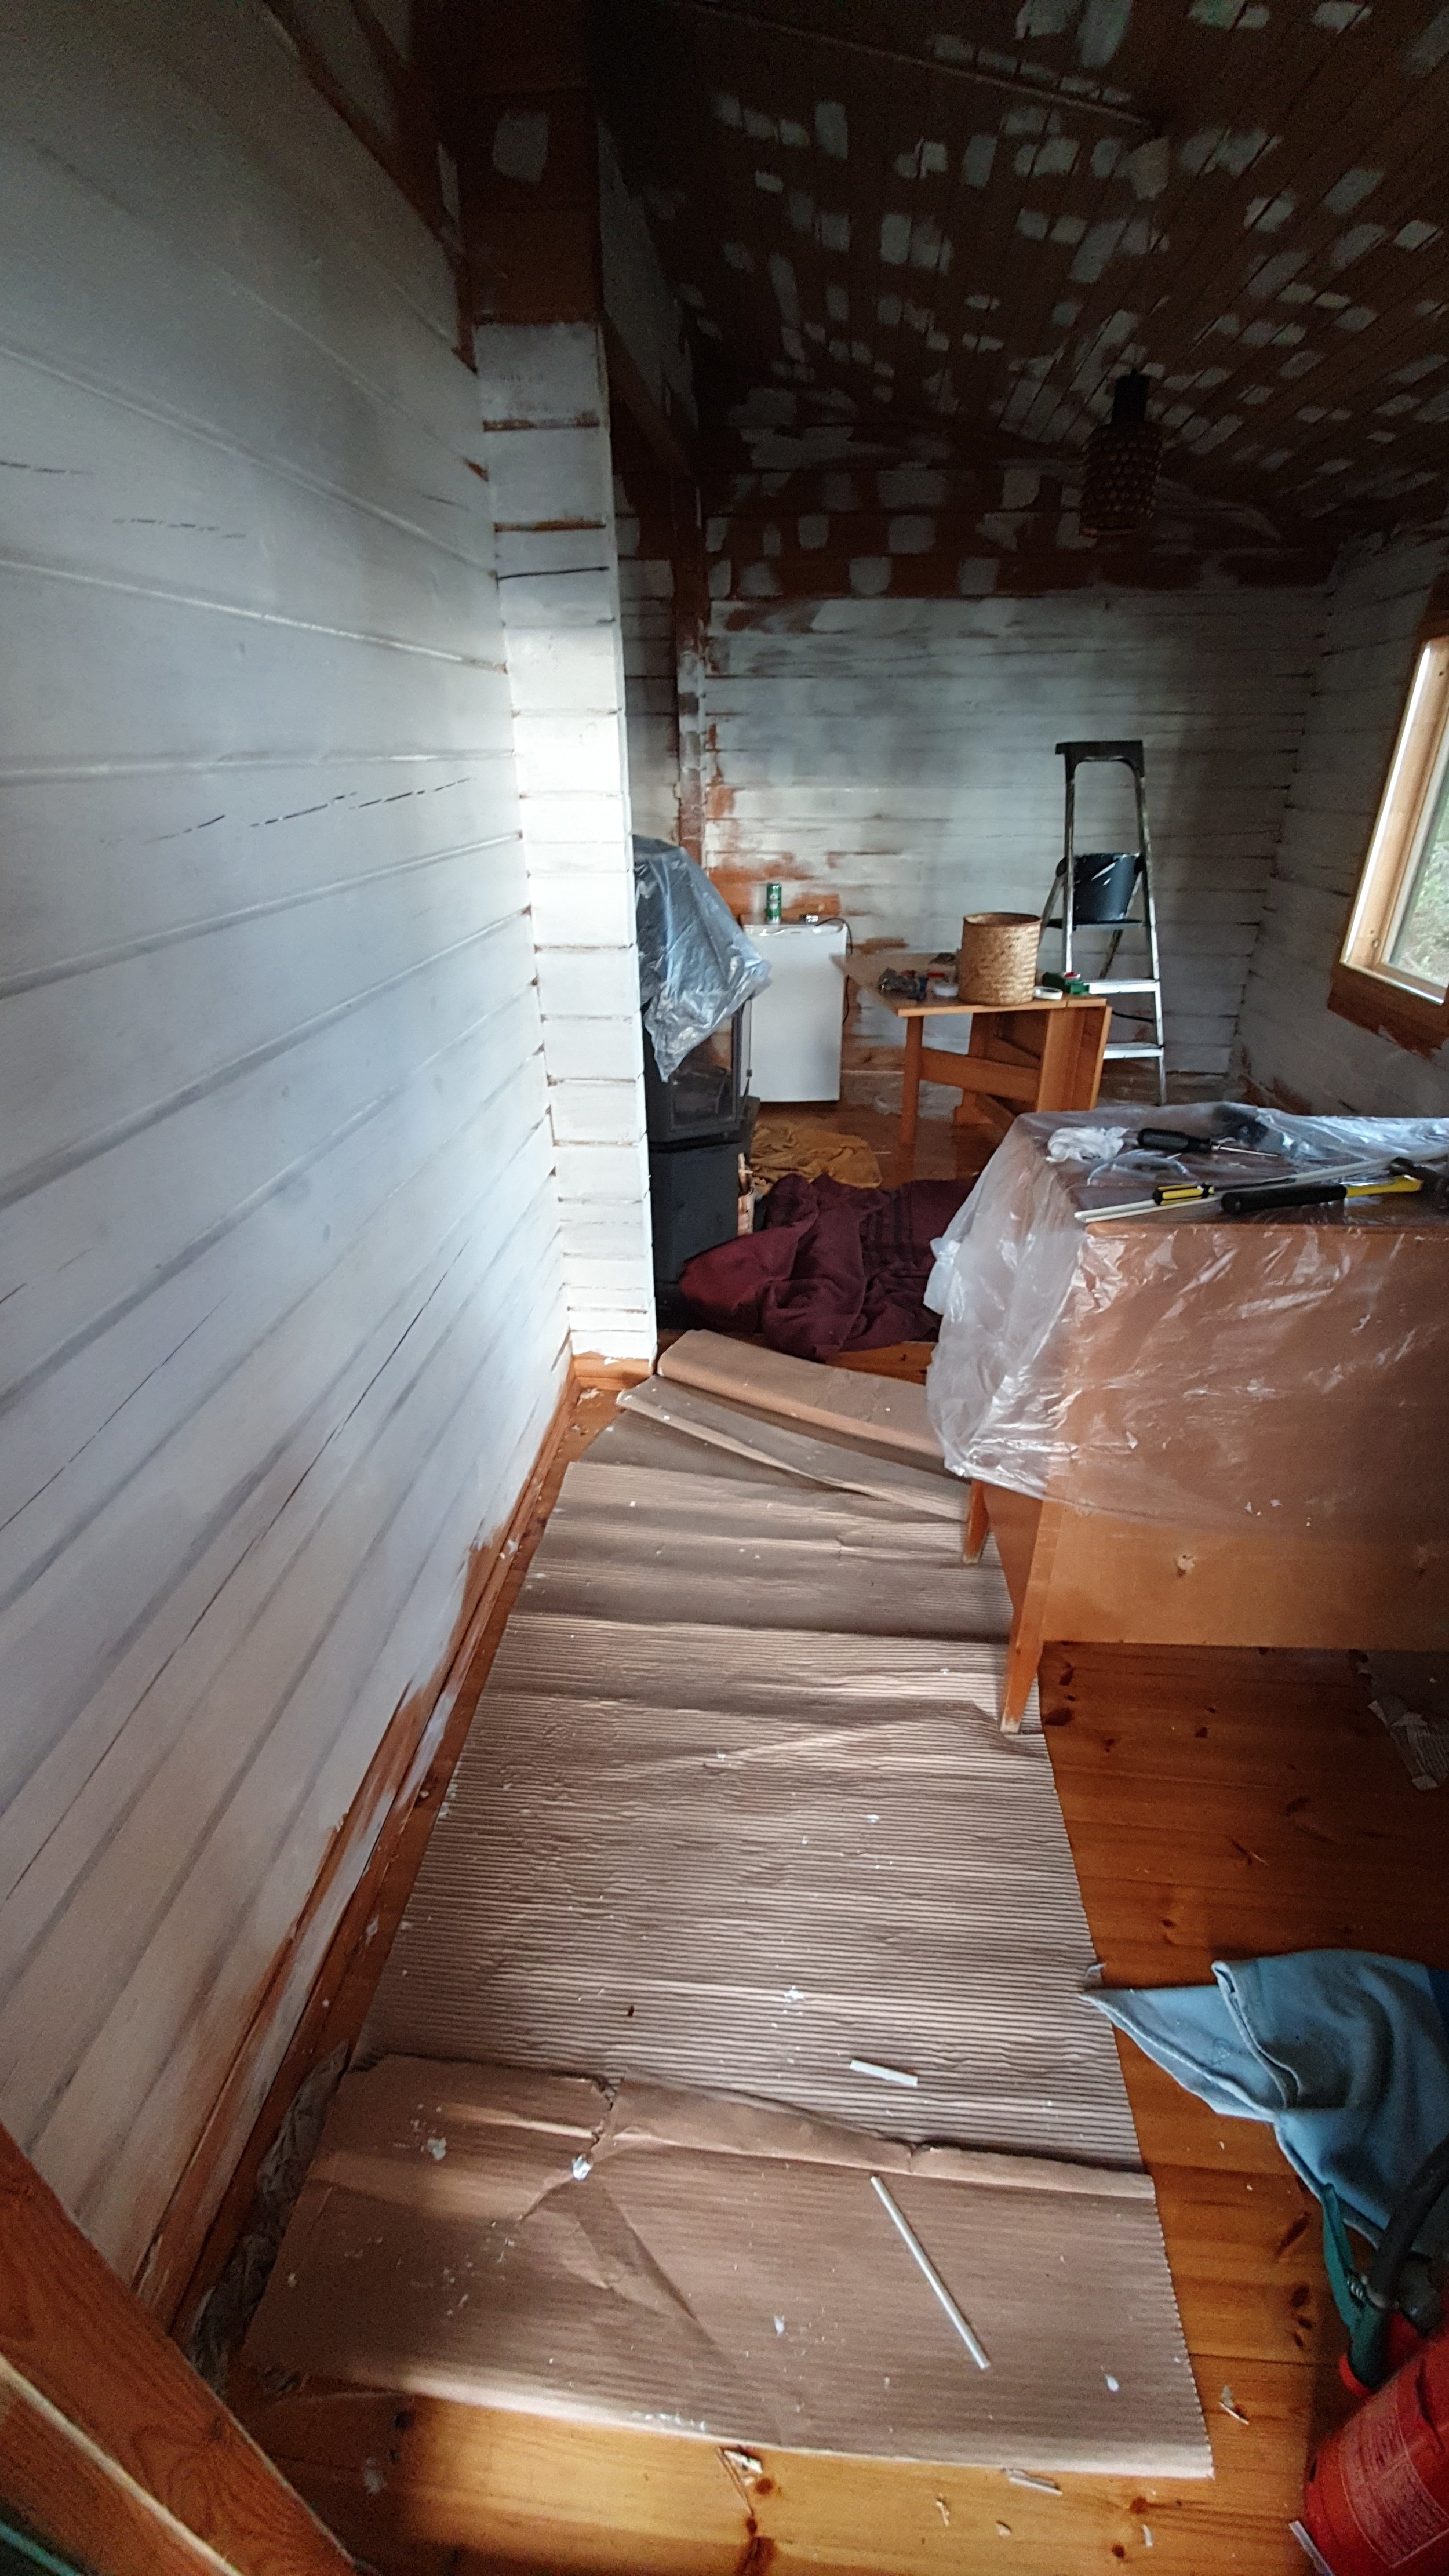
The plan was to give the cabin a facelift and make the space feel more open, as it felt dark and cramped with old junk. Little did we know how much work we were taking on. As the space is not that big (about 33 square meters), we wanted to make the best out of it by moving some things around. First we gutted the entire cabin and threw out the bunk beds along with the funky and outdated furniture. On this second round of getting rid of things we made sure to be more cautious and not to throw away any lavish furniture. We also felt like we wanted to honour and respect the history and feel of the cabin, so we decided to keep some of the items to create a unique combo of rustic and new.
Burning that 700€ Danish table sure made a nice flame.
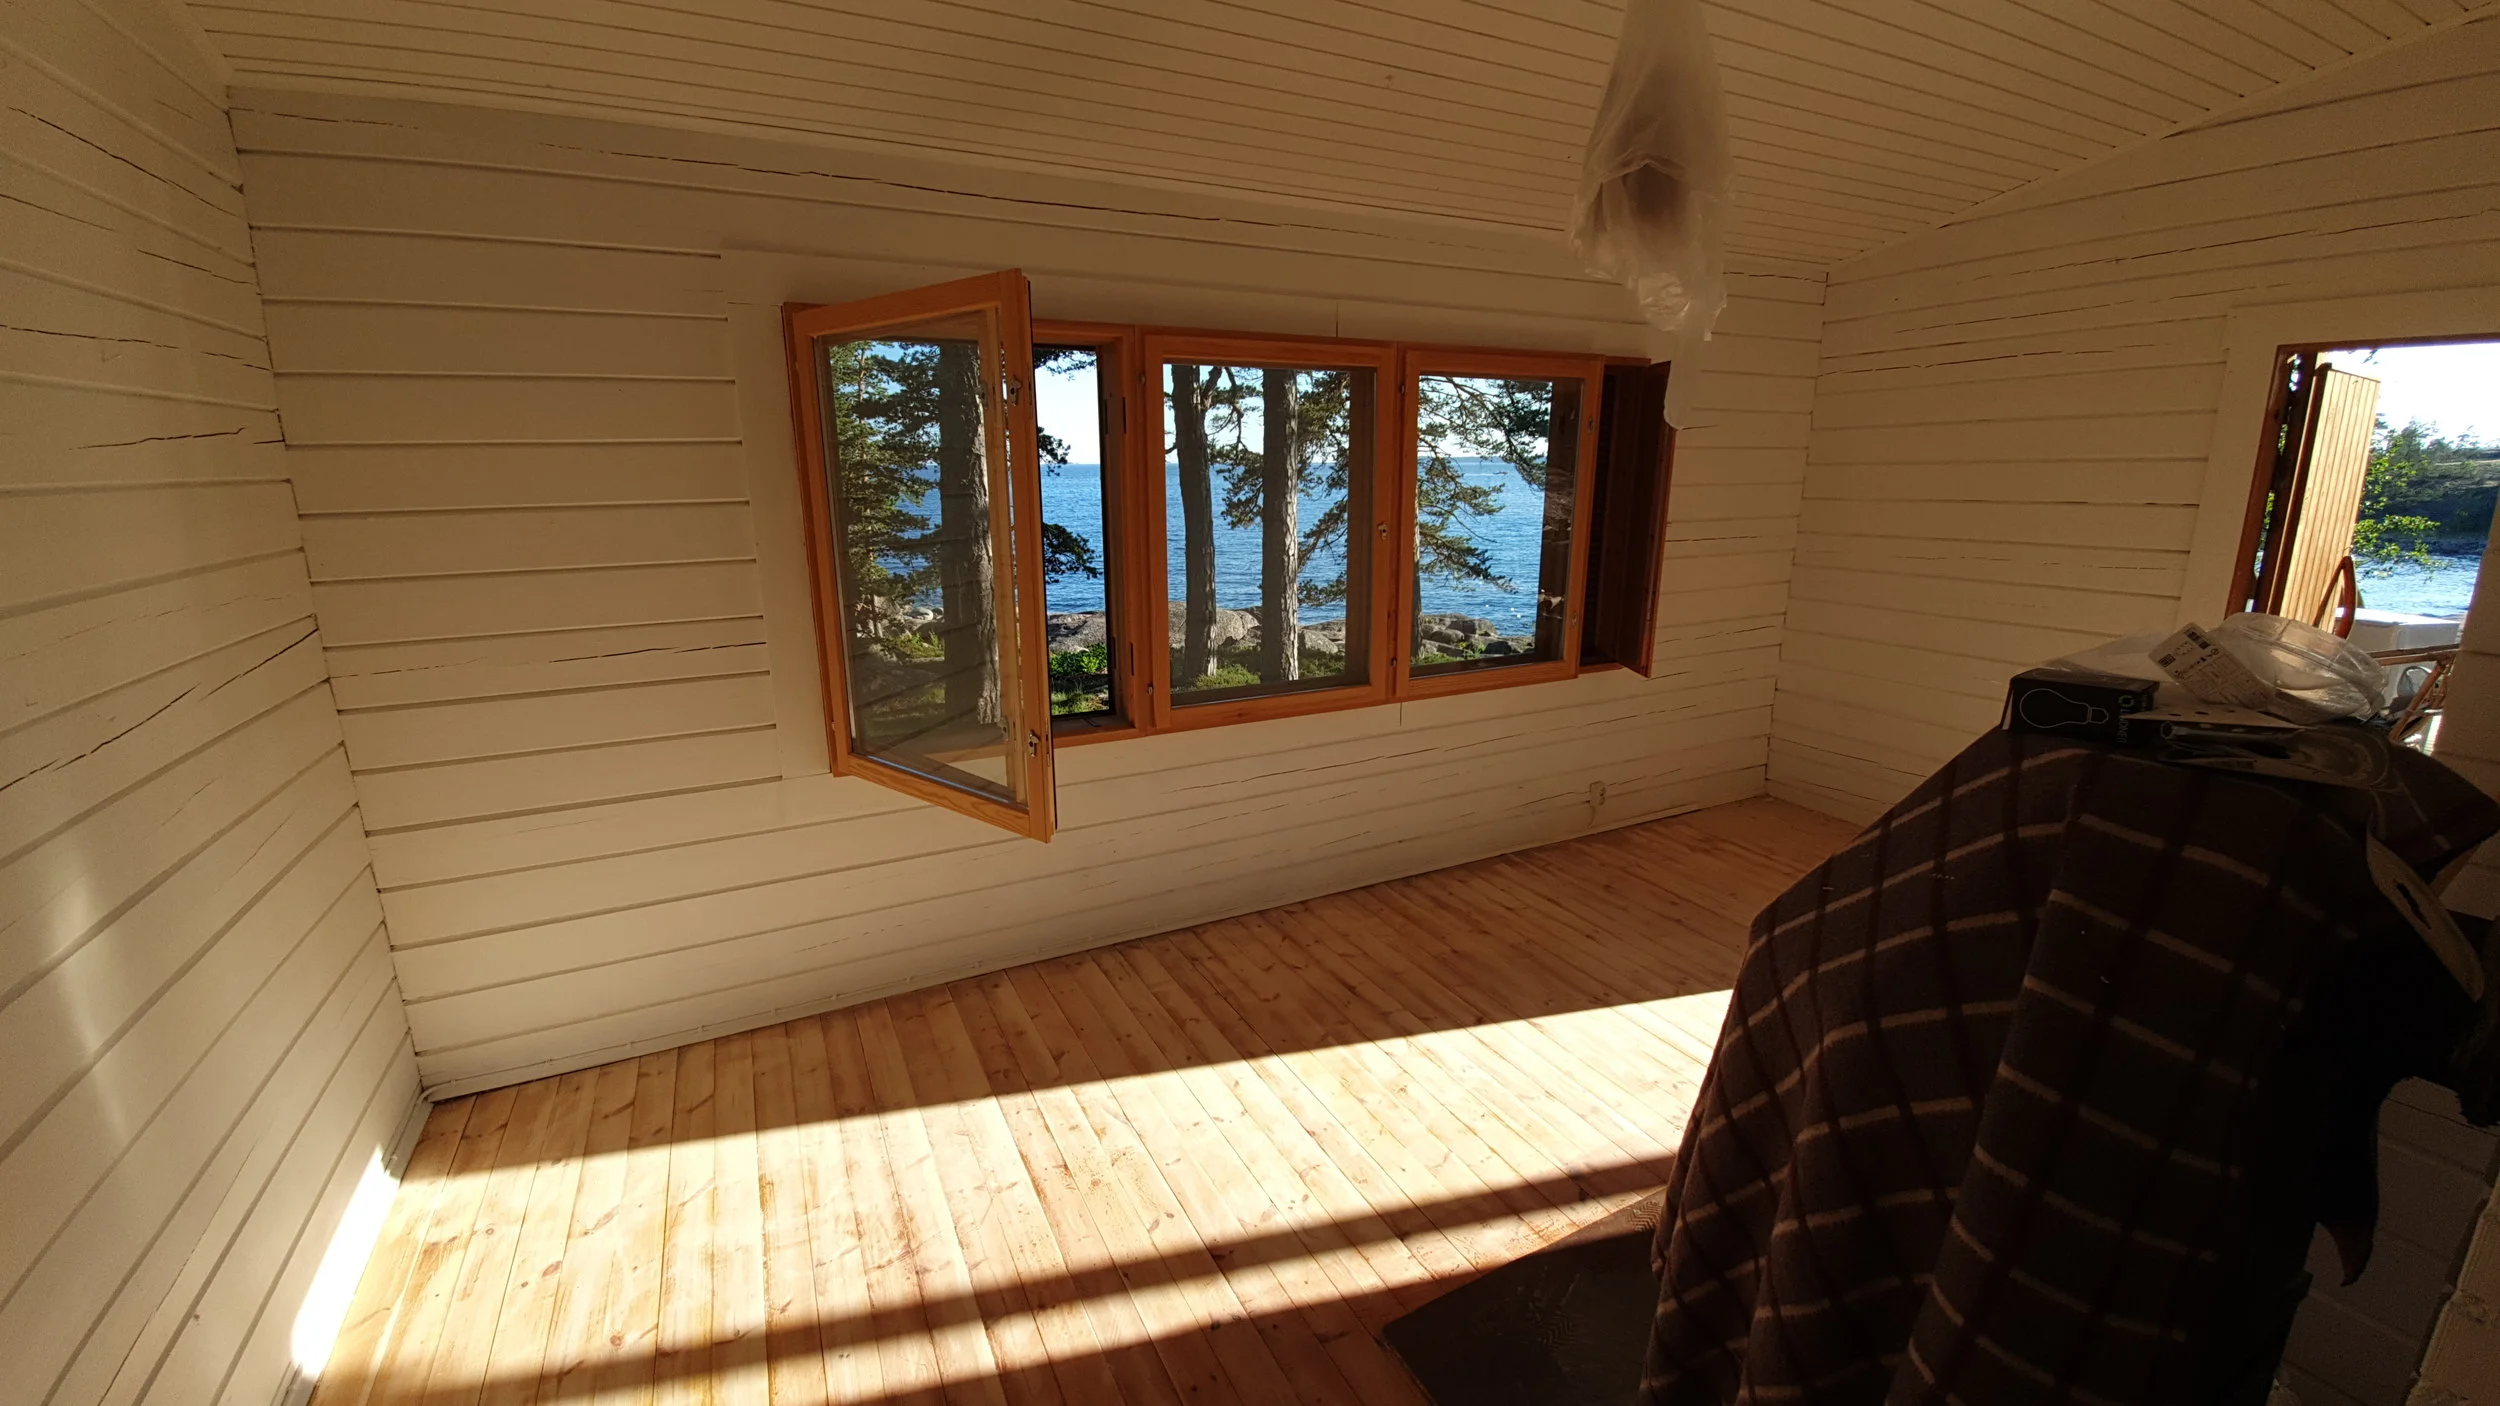
As one of our main goals was to create a more airy and open feel, we concluded that the “easiest” way to do this, would be to give the entire cabin a white out paint job. This meant painting all surfaces white, including the ceiling and the floors. As the floors had a lot of sun damage and were a little murky and stained, our next step was to polish the floors. And this, my dear readers, ended up being a pain in the butt. Neither one of us had ever polished wooden floors before, which basically meant that we had to simply learn by doing. It also meant messing up a couple times and renting all the wrong gear to begin with. Thank goodness for youtube and tutorials, as we finally (after hours of studying) found the best machine possible for this bothersome work. After the floors were finally polished, we proceeded with the walls. This was a pretty straight forward kind of thing and actually somewhat meditative, but it ended up taking way more time than anticipated. We ended up giving the walls three layers of white. Last, but not least, it was time to varnish the floors and voila, the cabin was now a white light filled new space. It might sound all effortless outlining the project here, but I can assure you this took us days and days of hard work and so many times of driving back and forth to various hardware stores.
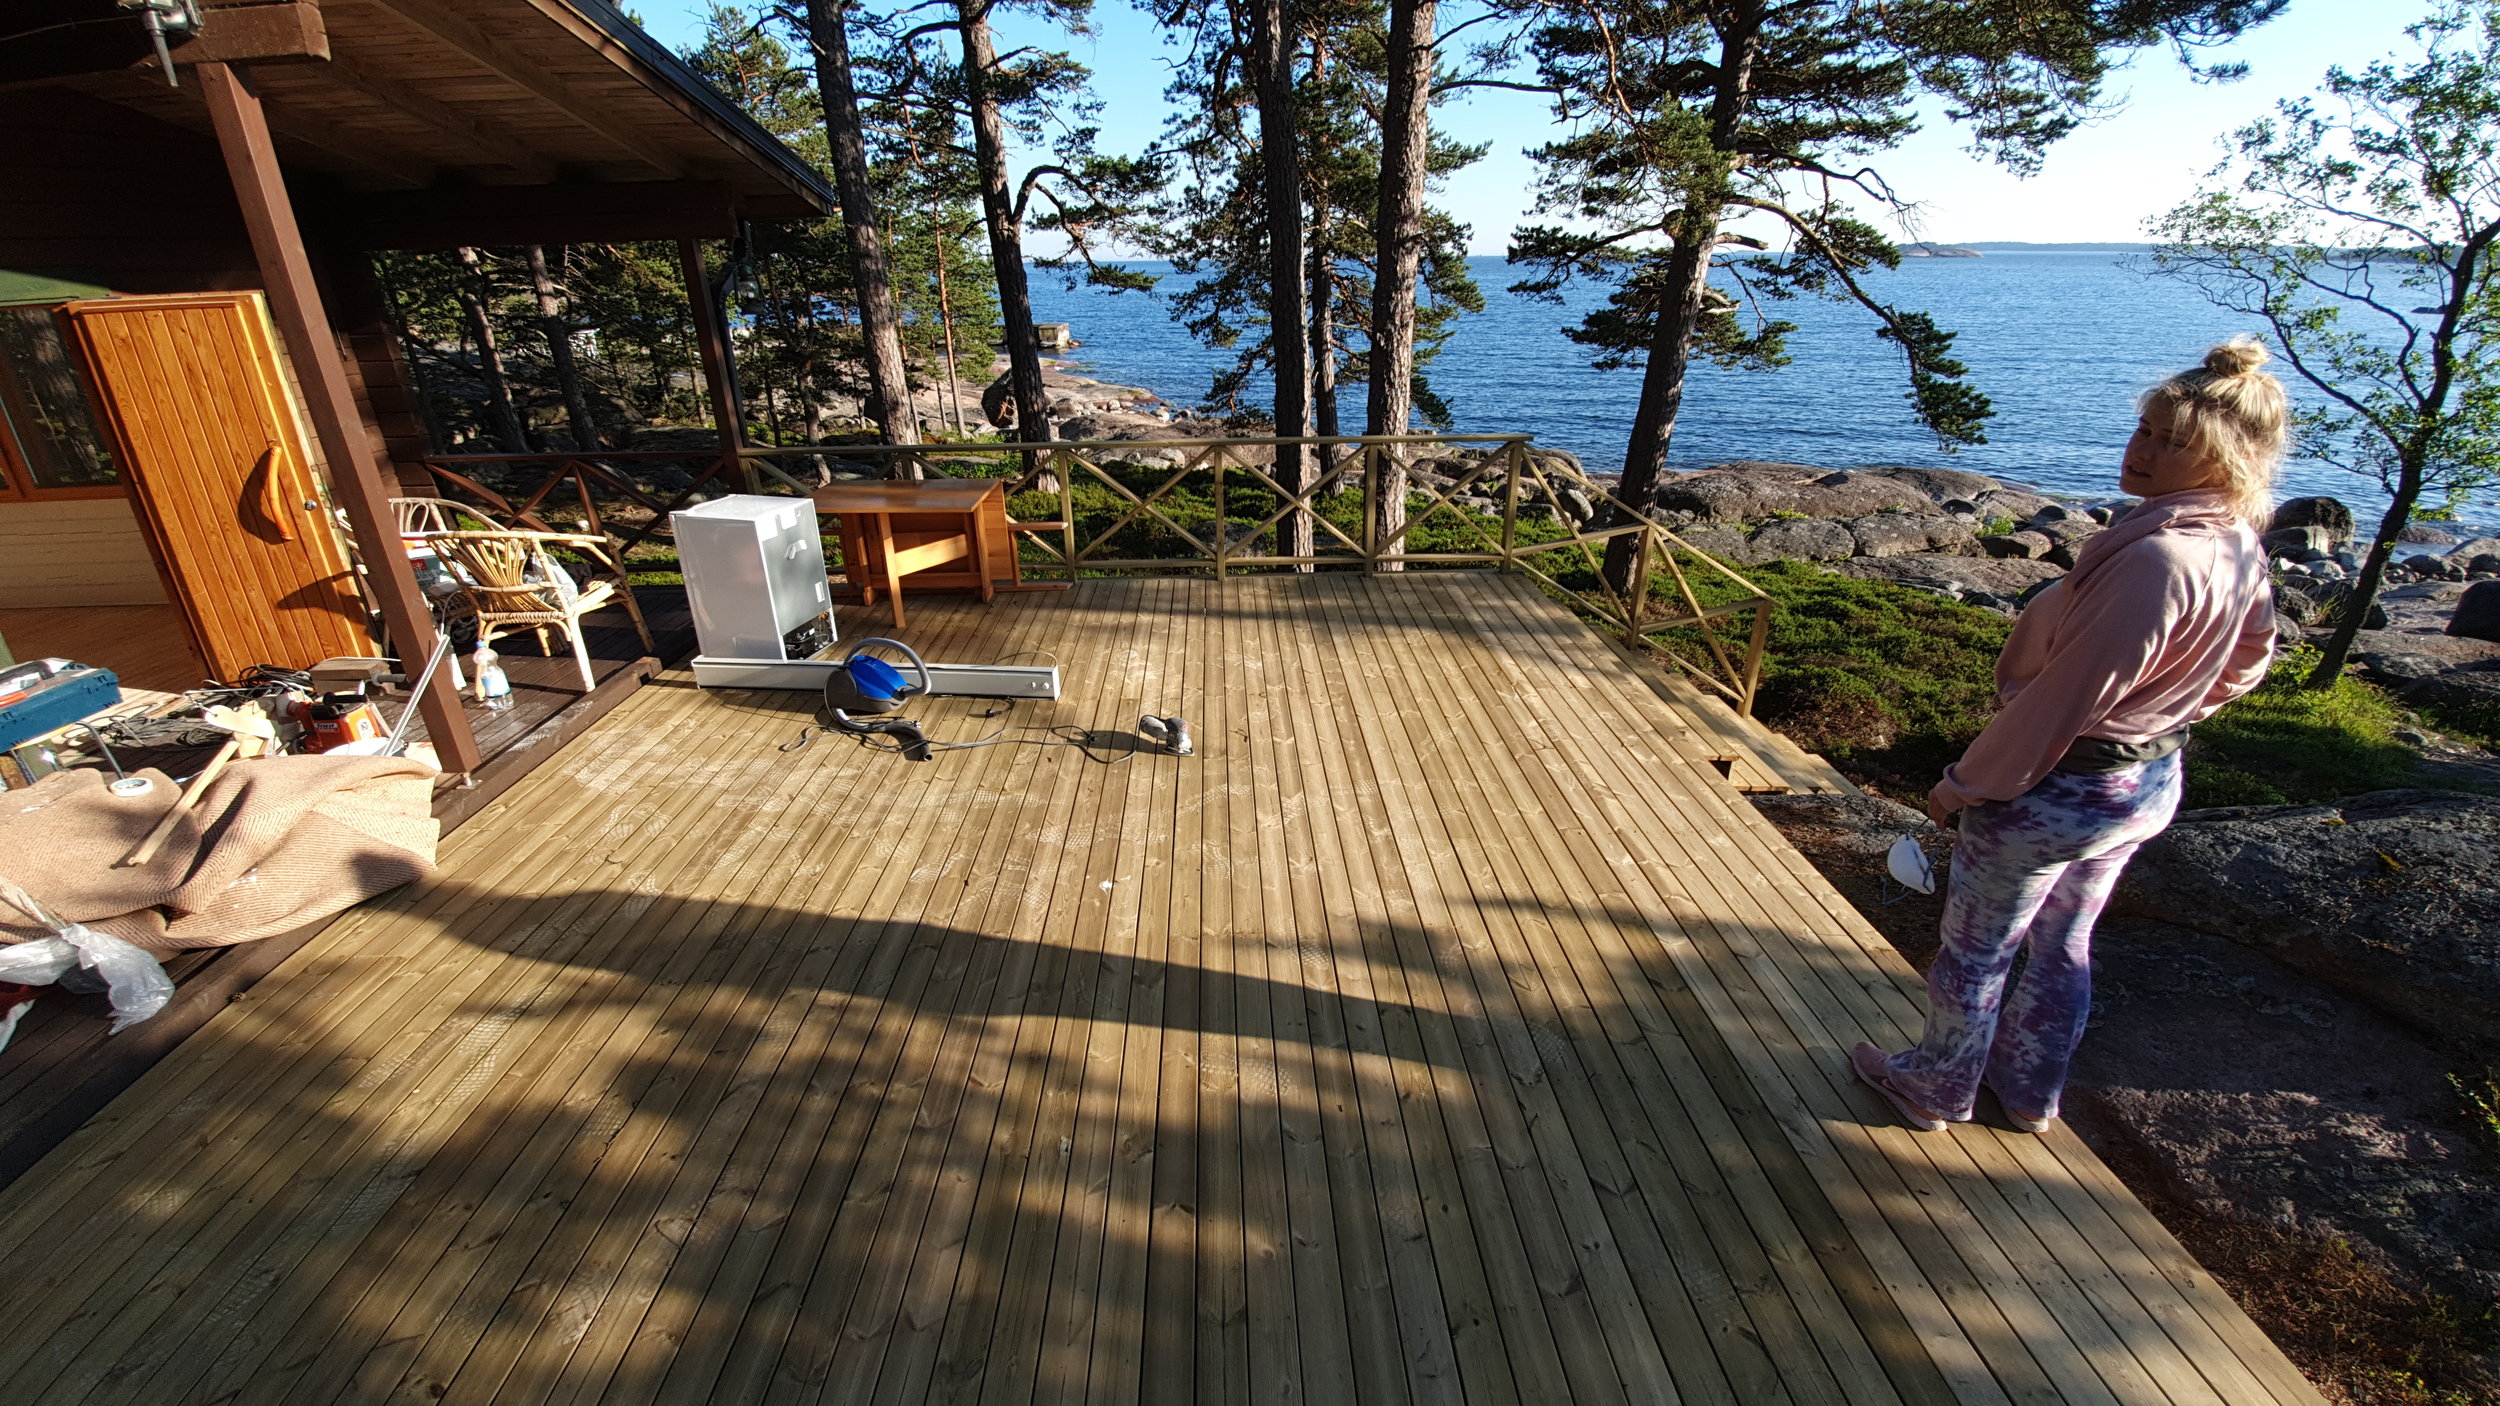
After all the surfaces were done, it was finally time for the fun part: redecorating! As we had shuffled things around quite a bit and gotten rid of most of the furniture, we had to buy alot of new stuff. Hooray for Ikea. In addition to making the interior all cute and fresh, we also had a large new terrass built, that further enlarged the living area and gave the small little cabin a bigger feel. Now that the project is nearly finished (we still want to buy some outdoor terrass furniture and get a SMEG fridge) we are super pleased with how it turned out. Plus, the terrass works perfectly for yoga too. But, before we dive into the reveal, here’s a bunch of before pictures to start with, if you scroll further down you’ll find some making of pics and last, but not least the final revamped and pimped cabin pics. Let me know what you think! When you scroll alllll they way down you’ll see two before & after comparisons! Lemme know what you think :)
xx,
Handyman Evita


